The Art of Tearing Into a Dog Toy
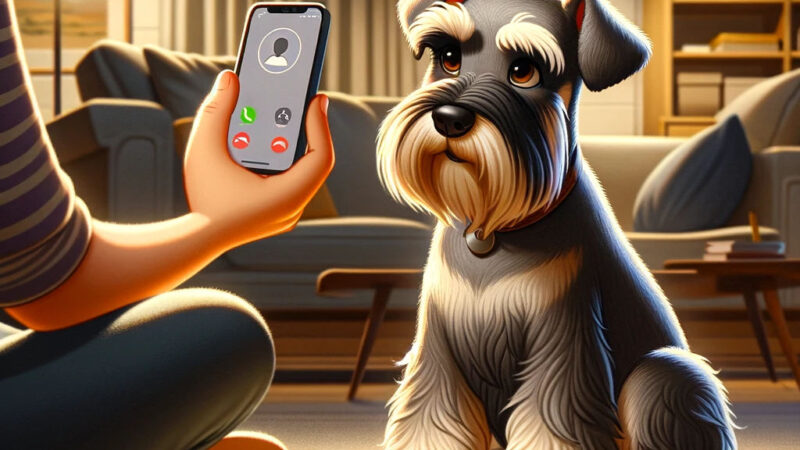
The following step-by-step DYI was transmitted to me by my dear Dalai as we sat on the couch together enjoying a “quiet” morning moment.
Step One: Select a plush dog toy that still has the price tag attached if you can find one. Look for the expensive ones with designer labels and that “new” chew toy smell.
Step Two: Carry the toy gently in your mouth to a suitable location of the house. A suitable location may include the family couch, a special chair, a carefully stacked pile of magazines, a clean basket of laundry or the cat’s favorite pillow.
Step Three: Begin by pulling on the nose. This is usually the place of least resistance and it should be easy to get a tooth inside to rip the seam. If after a minute or so you are having trouble biting the nose, switch to the eyes, if they are glued on you can rip them off and then go for the soft underbelly where they had been attached. Are you writing this down?! Nose –> Eyes. Nose –> Eyes. It should be easy to remember.
Step Four: Once you have breached the seam stitching at either of your entry points begin to tug and pull to create a larger rip in your plush toy. Then when you can see the first wisp of white stuffing … GRAB IT with all your might and rip it out with a quick jerk of the head. If you notice the tuffs of stuffing are large, make sure you stop and shred each one into tiny hard to pick up thread masses. If you can get some stuck in the cushions of the couch, all the better. Keep grabbing and head thrashing until you have ALL THE STUFFING out of the toy, making sure that you have thoroughly ripped all of the seams and there is no way the toy can be pieced back together by American hands.
Step Five: Sit back and enjoy your creation. Look at the mess. Revel in your dexterity. Who needs opposable thumbs?
Tune in next week for how we use this same technique on angora sweaters!

